[RBOD-3] Only Give Up Match 3 [FINAL]
2021/03/14
[RBOD-3] Only Give Up Match 3 [FINAL]
Tale of the Tape
---
Sayaka Ichihashi: T:152 cm / B:85cm / W:60cm / H:83cm
Megumi Fukiishi: T:159 cm / B:80cm / W:57cm / H:85cm
Thanks again for tuning in to another installment of the “Only Give Up!” review series. As much as it is a pleasure to write these reviews, it appears that it would be better to incorporate more brevity. Shorter, sweeter articles that focus on the action rather than long-winded sentences of every minute detail. Pardon, as I'm still learning.
The action today features two new contestants; Sayaka Ichihashi and Megumi Fukiishi.
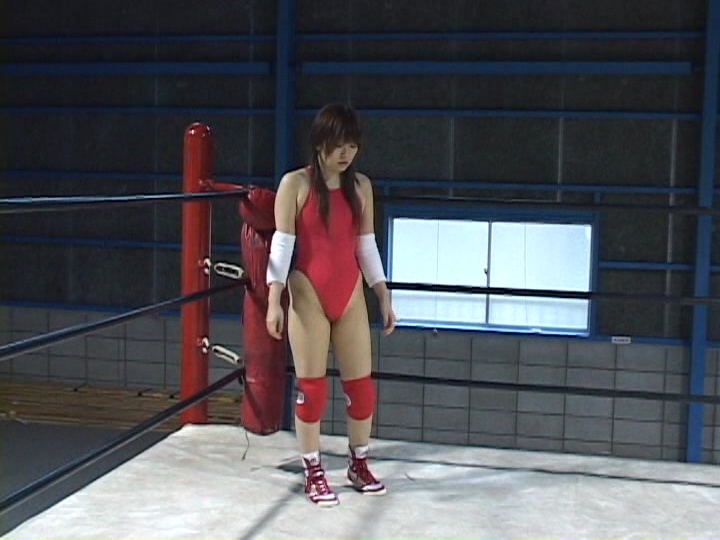
Sayaka enters the ring wearing a solid red speedo with matching colored kneepads. Her elbow pads are white Asics and her ring boots are Mizuno trainers with gold trim.
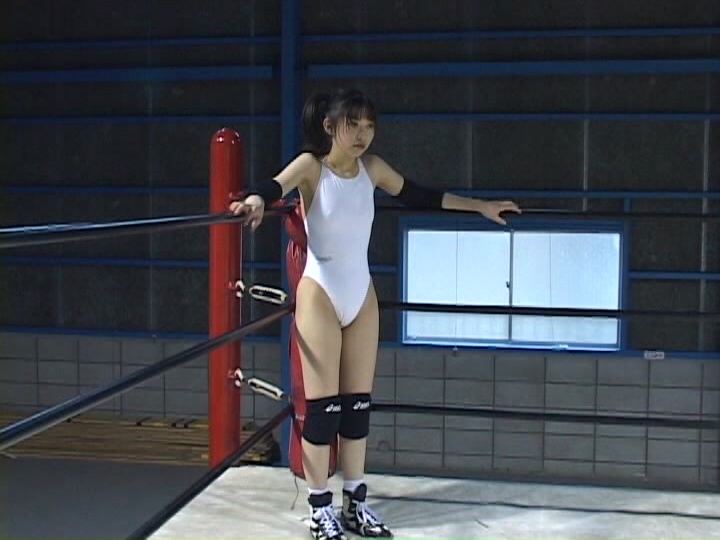
Megumi is adorned in a pristine white suit with black knee and elbow pads. Her boots are black and white Asics that rise above the ankle like basketball shoes.
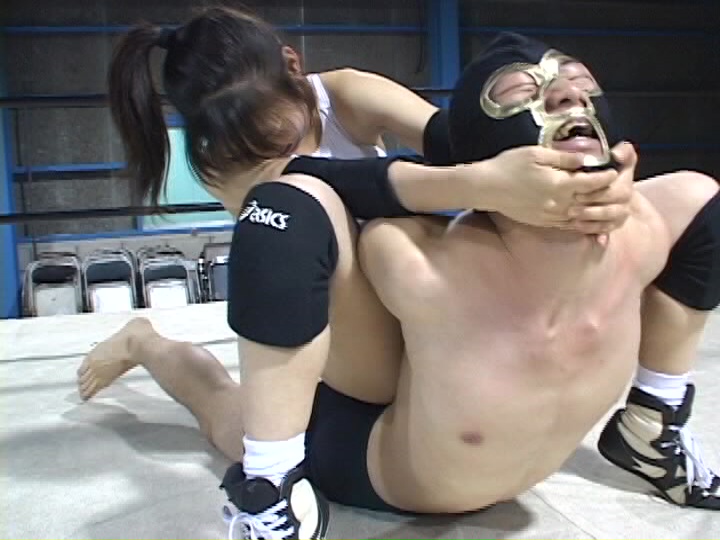
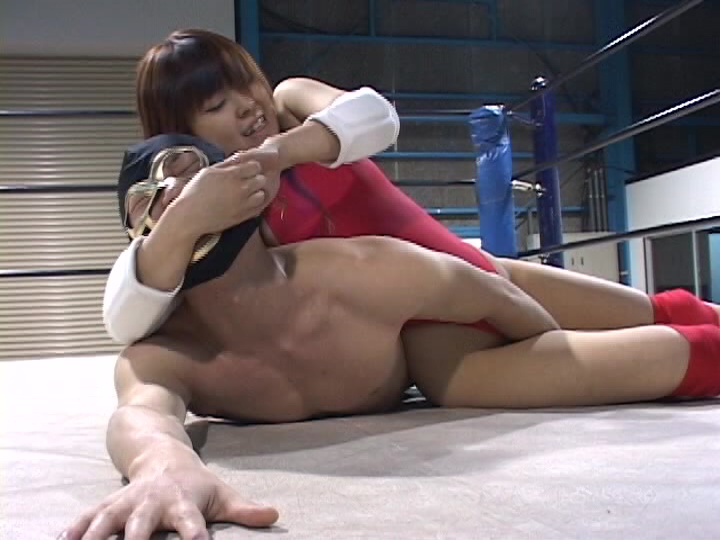
After wrecking some male jobbers as a warmup, both wrestlers are poised to do battle.
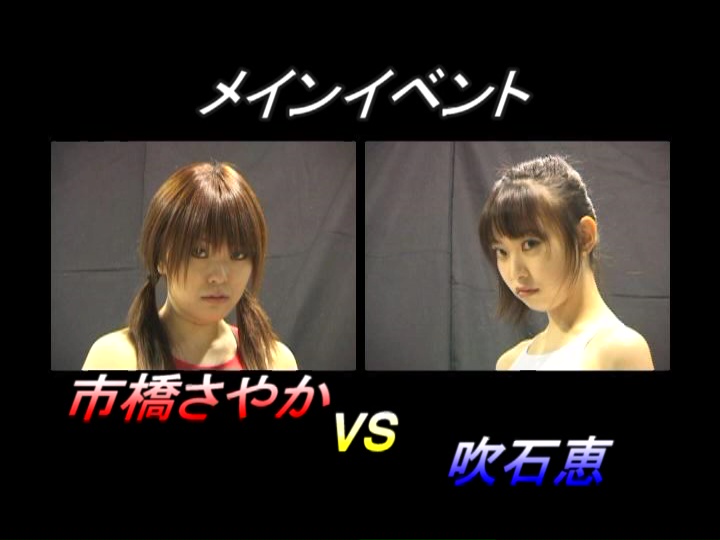
The match opens with both girls circling the ring.
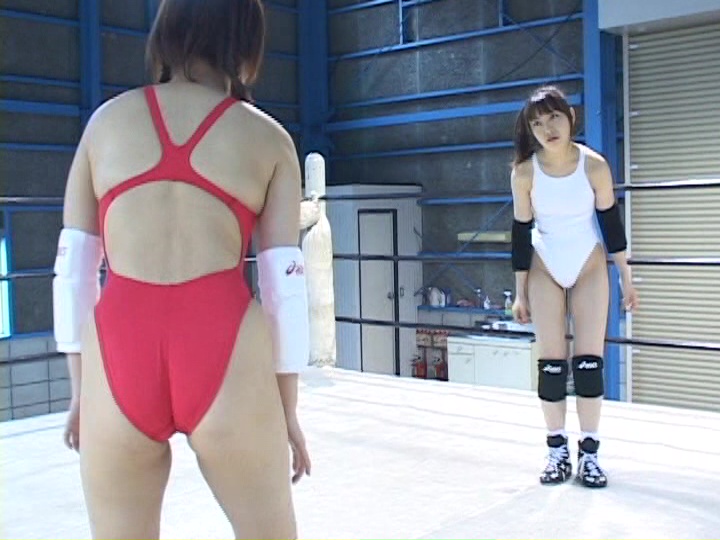
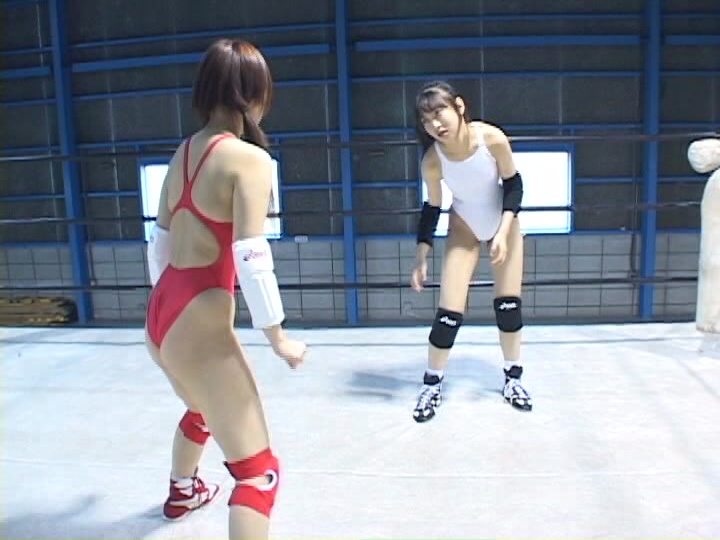
Both lock eyes, looking for a weakness to exploit.
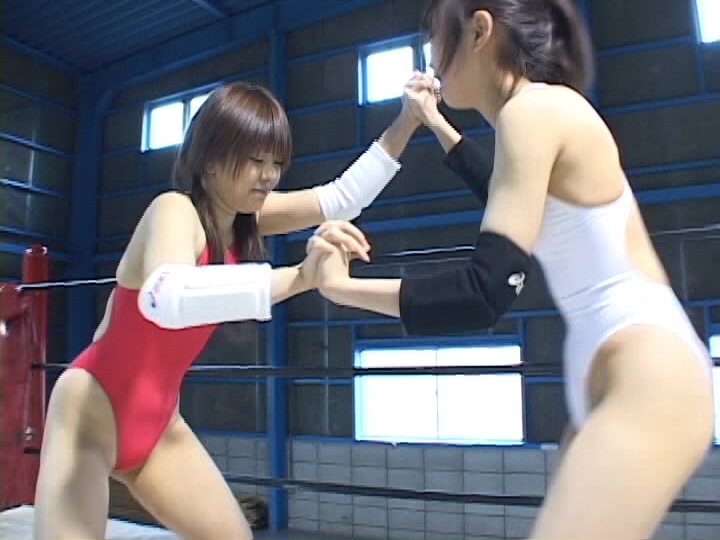
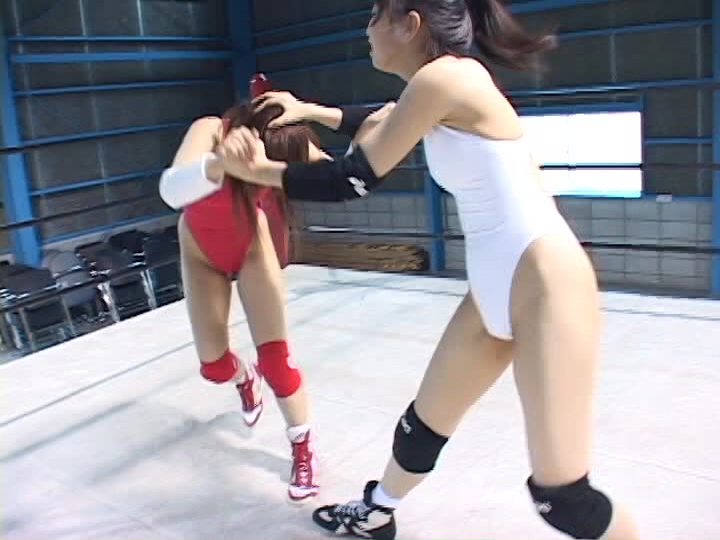
A test of strength ensues, establishing who is the dominant femme early on in the match. A few headbutts has Sayaka reeling, causing her to be thrown to the ropes.
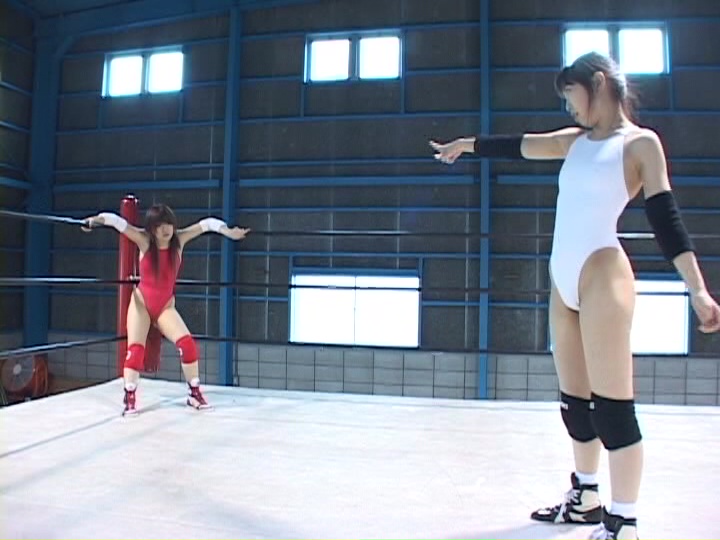
“Iku wa yo - here I come” was Megumi’s response.
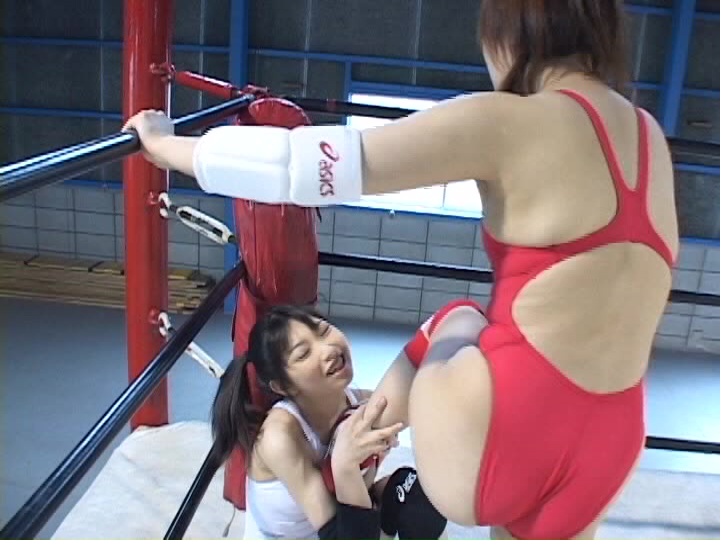
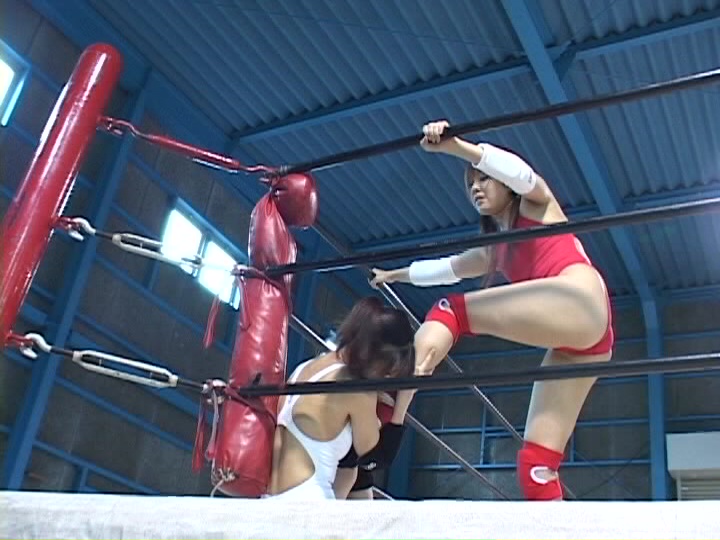
However, Sayaka dodges the attack, causing Megumi to crash into the turnbuckle. Foot chokes make their appearance. Followed by knee strikes.
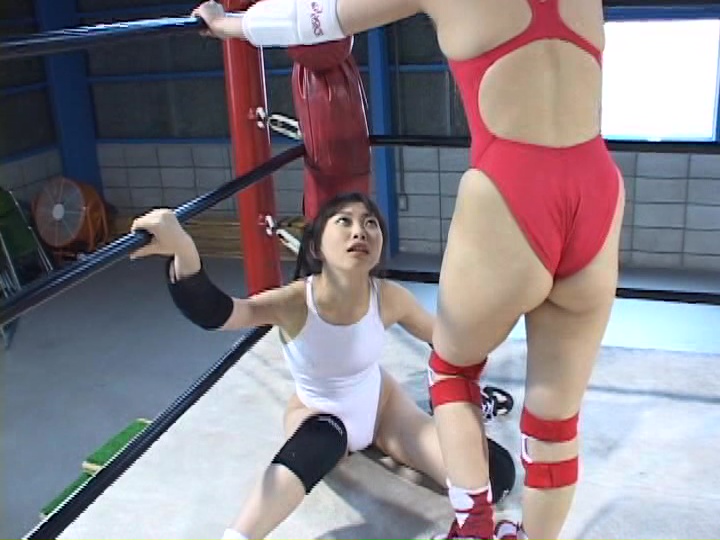
Megumi is in trouble.
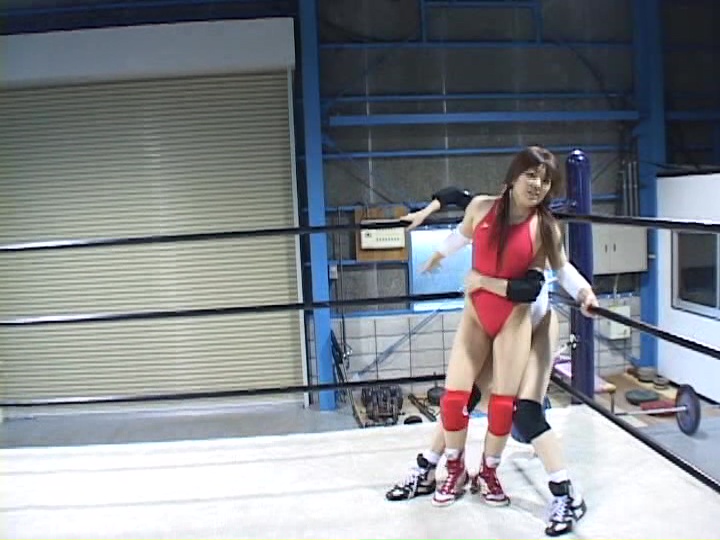
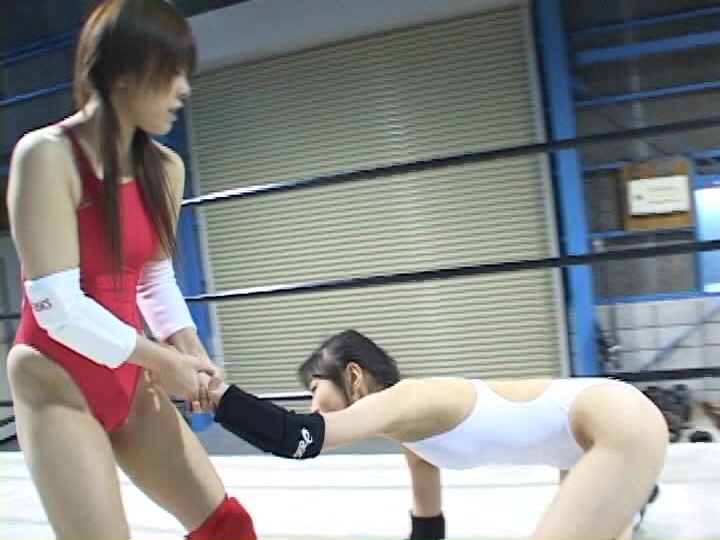
With some trash talk, Megumi is flung to the opposite turnbuckle. Sayaka charges toward her, executing a body attack. Megumi slumps over in pain.

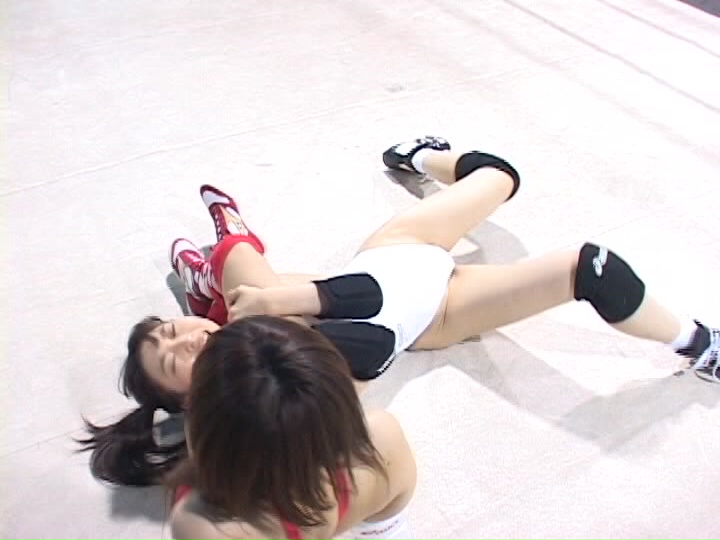
The onslaught continues with a neck scissors. Megumi tries to kick out but she cannot.

The ref asks for the tap but is rejected.


Sayaka grabs Megumi's leg, tightening the move.
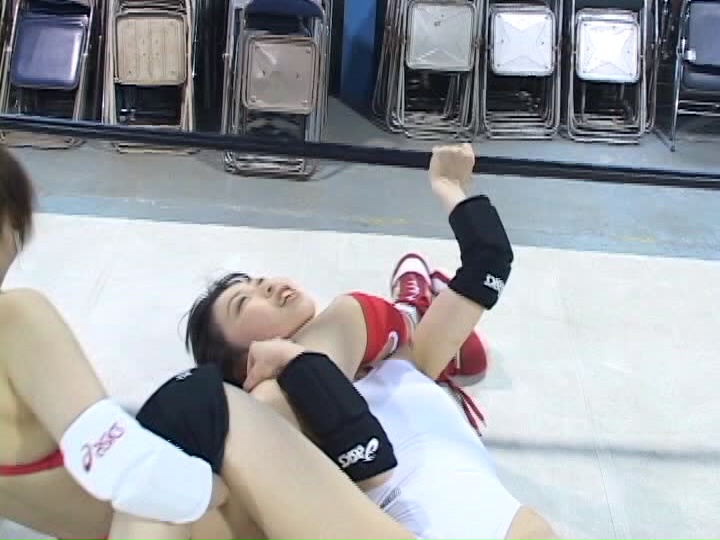
Megumi whimpers as she clamors towards the ropes, eventually reaching them.
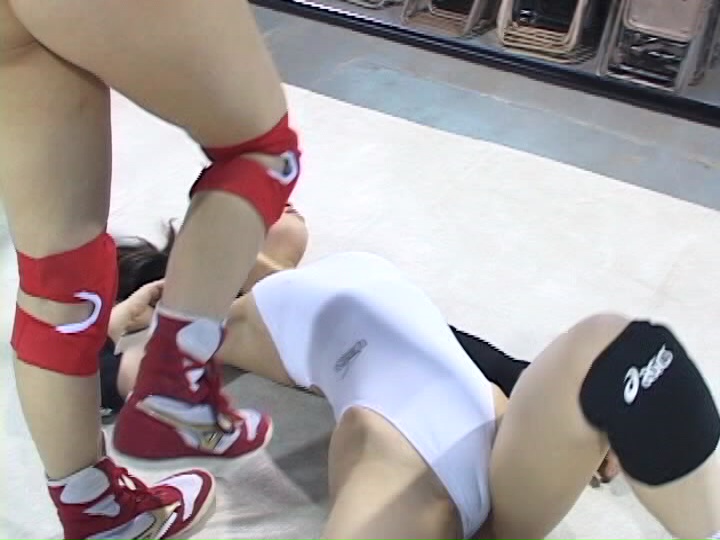
Sayaka continues the punishment, stomping her fallen opponent.
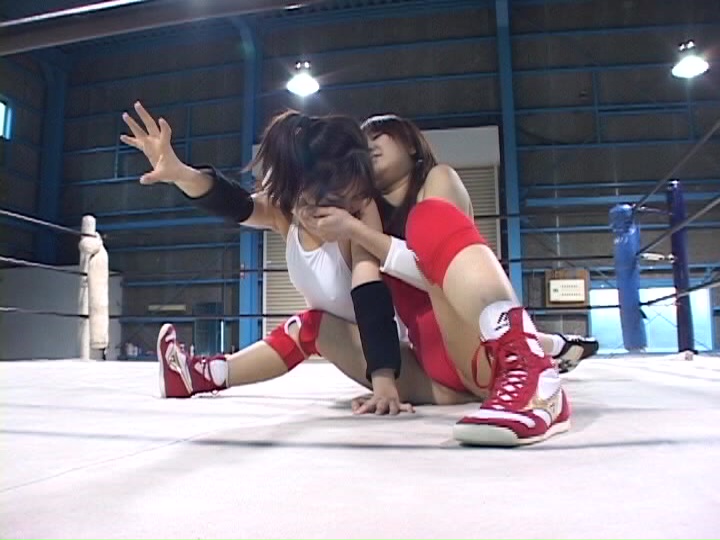
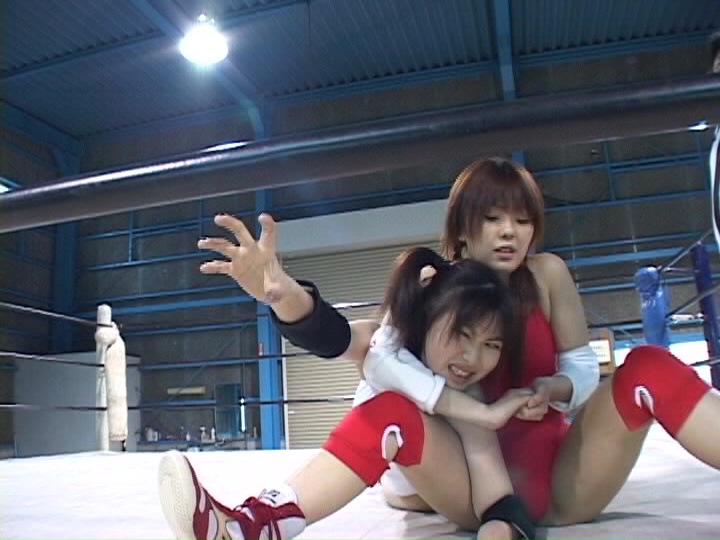
Another submission - a sitting headlock as Megumi cries out in anguish. Both are panting hard, already tired from the match.

Hello, camera (LOL!)
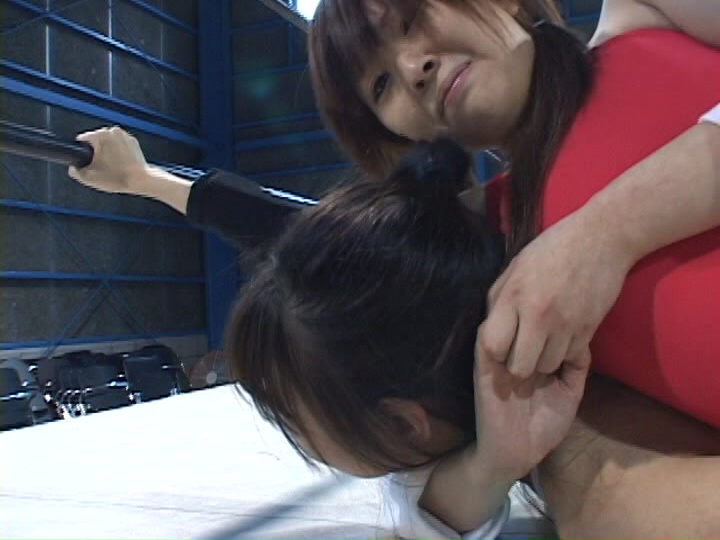
After a few moments, Sayaka releases the hold after Megumi grabs the rope.
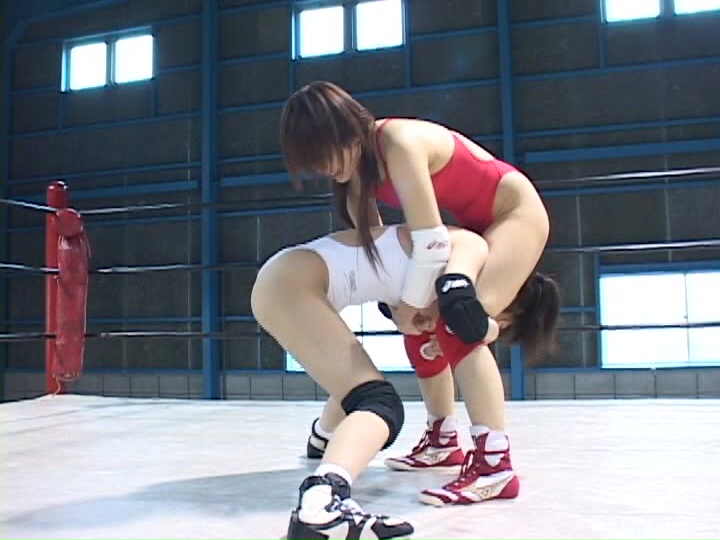

Sayaka goes for a powerbomb, but...
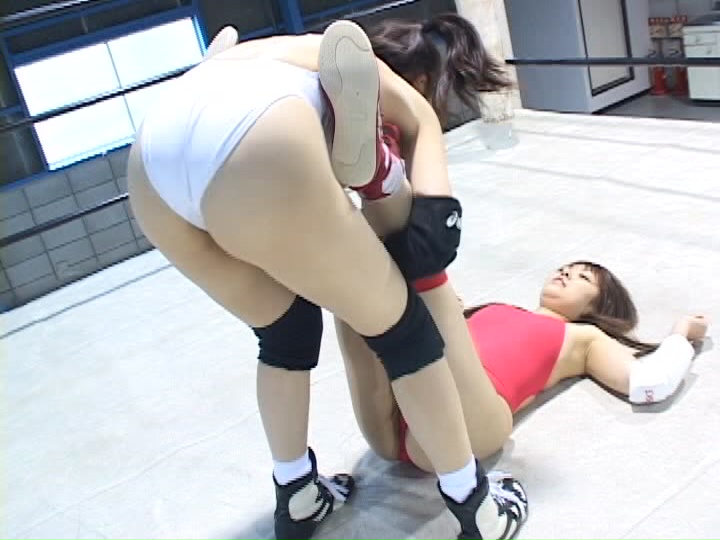
Reversal by Megumi!
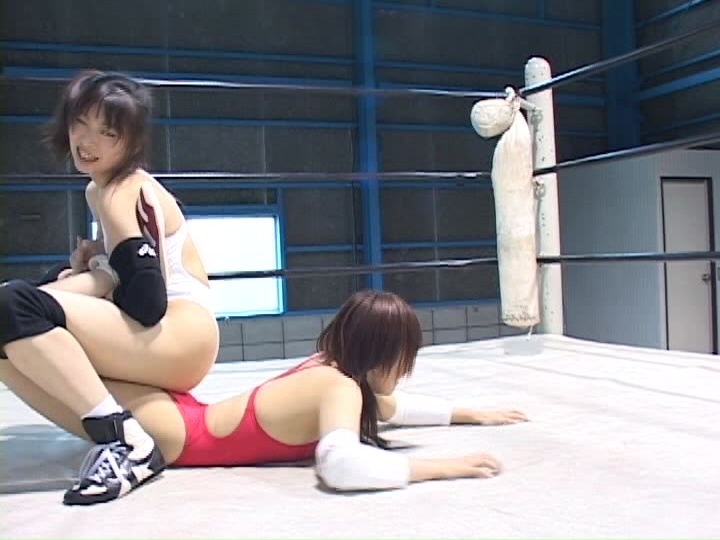

Now Megumi is in control, getting her opponent in a Boston crab. The tables have turned.


Sayaka tries to grab the rope herself, but is dragged back to the center of the ring.
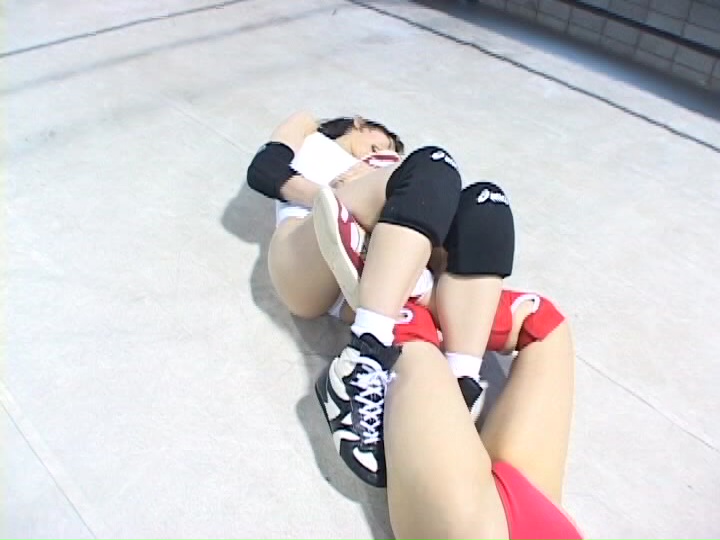
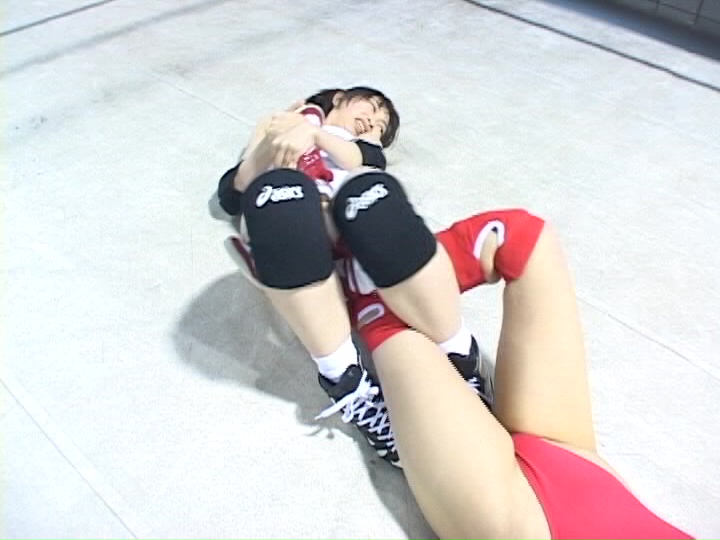
Megumi flips her over and goes for a figure four leg lock.

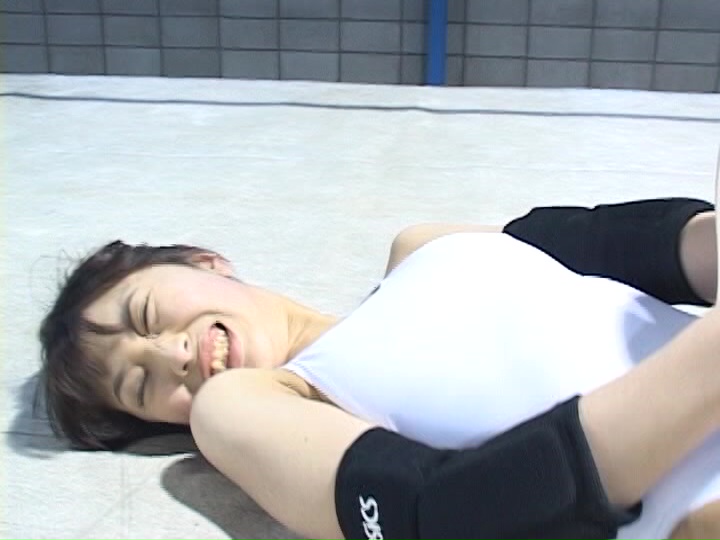
Sayaka whimpers in agony before scooting over to the ring side.
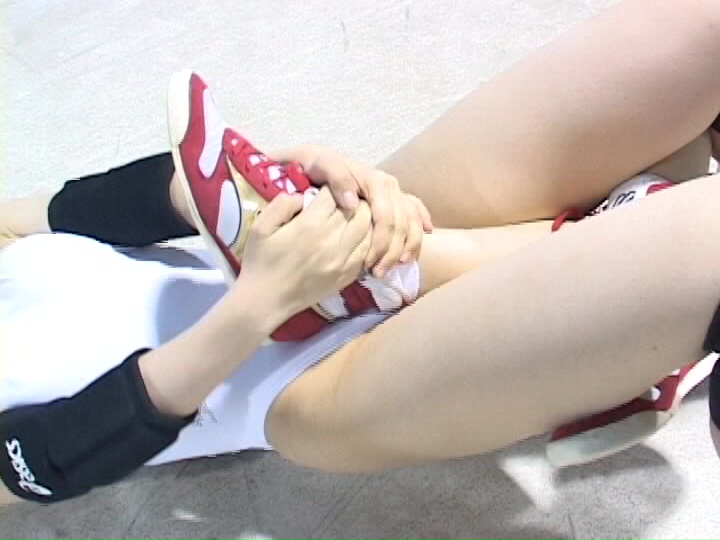
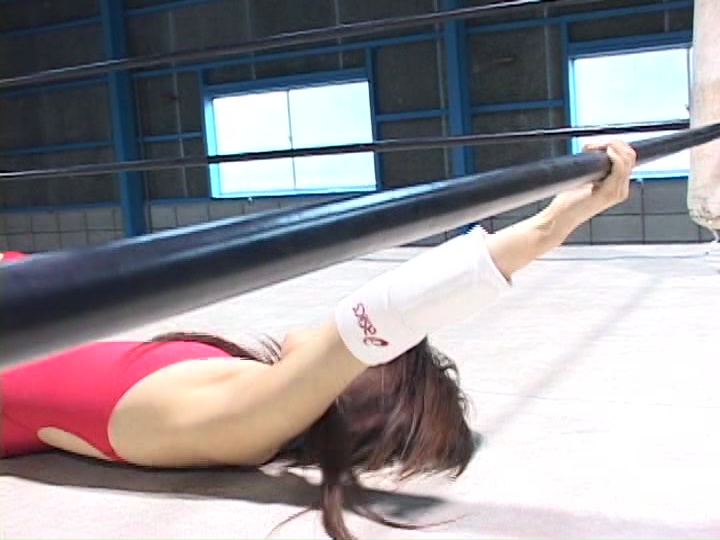
Rope break!


Megumi picks up Sayaka.

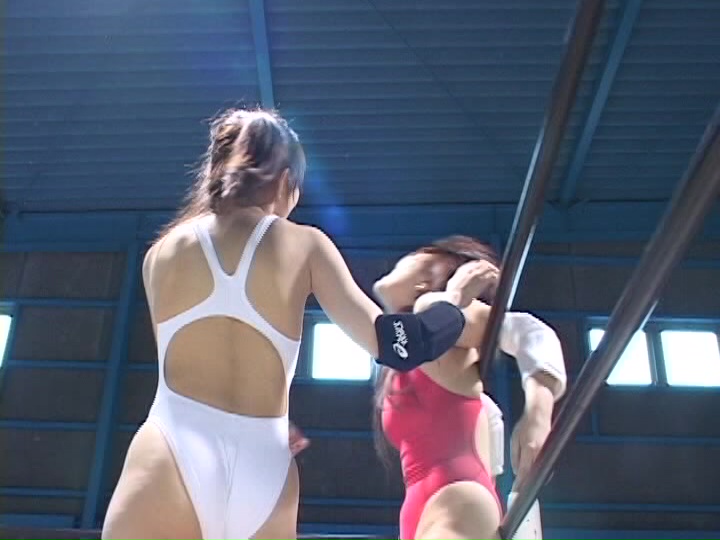
Megumi chops Sayaka across the chest.
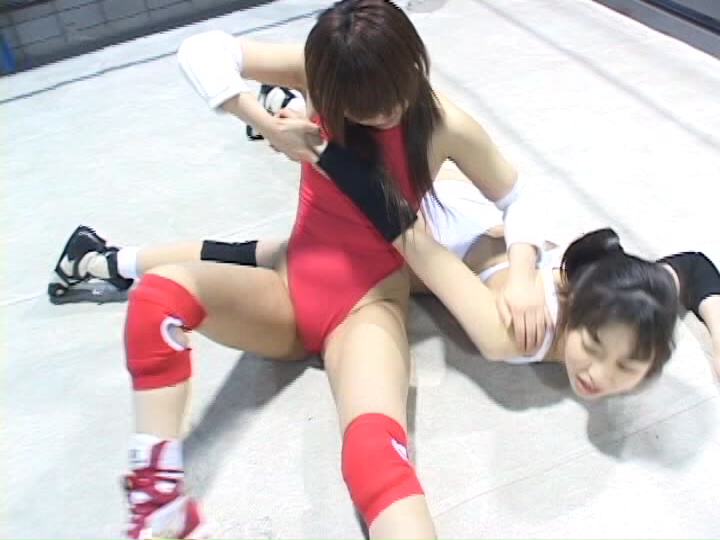
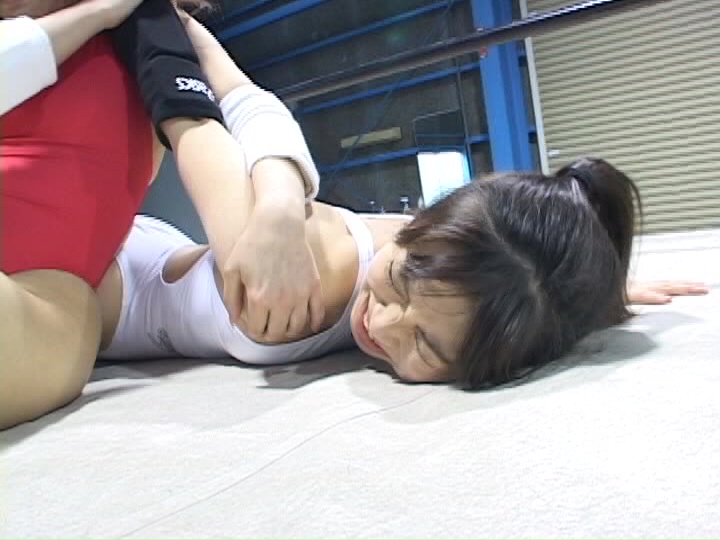
Sayaka groans in pain, before reversing the assault and performing a double chop on Megumi. Megumi gets whipped into the ropes and brought down in an arm lock.
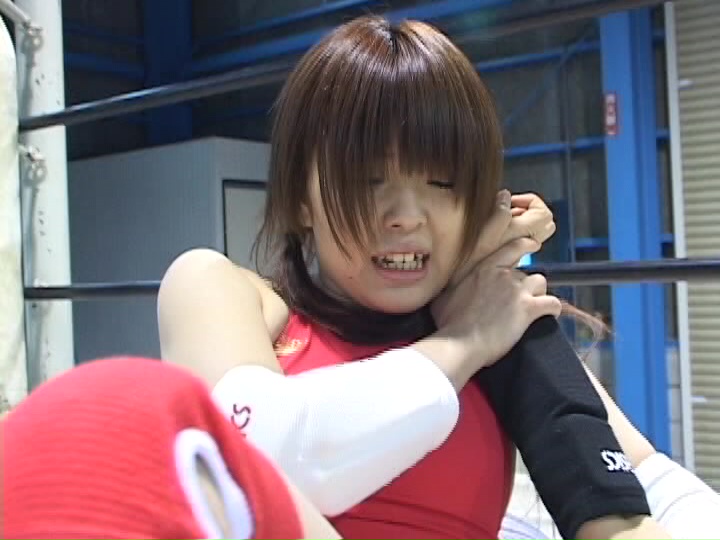
Momentum has shifted again.
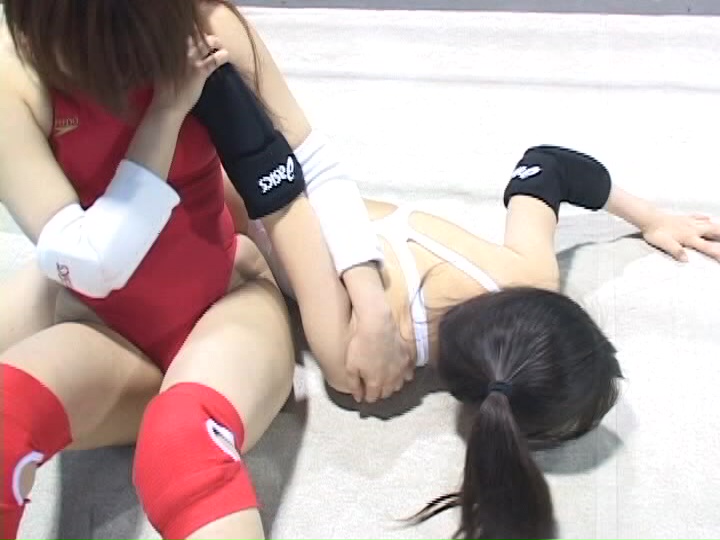
Megumi endures the hold until resting her foot on the ropes.
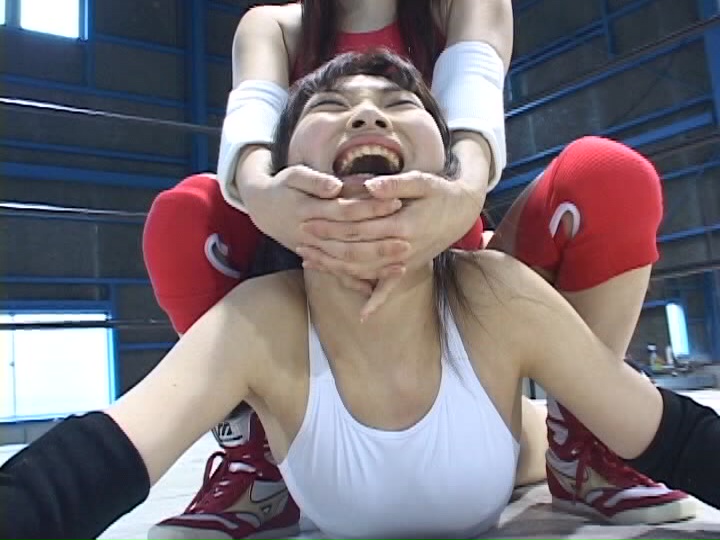

Sayaka goes for a camel clutch next, pulling on the weakened back of Megumi.

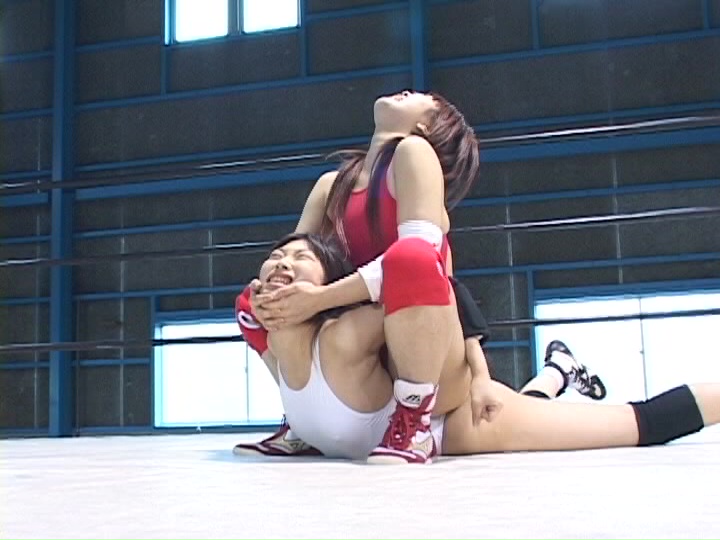

Moments later, Sayaka resumes the trash talk, stomping her opponent in the process.

She lifts her opponent once again, going for the powerbomb. Will she execute it this time?
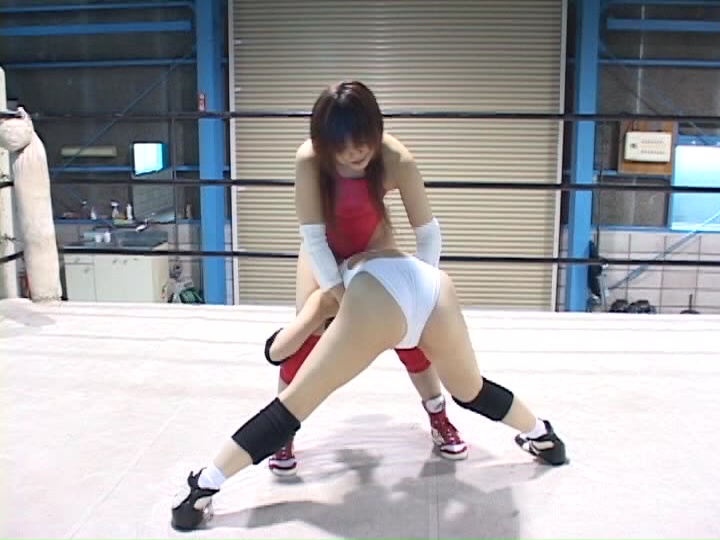

Sayaka tries, but Megumi blocks the attempt. She tries again and is blocked again.

Sayaka gives up and starts kneeing Megumi. Just when things look to be over…Megumi fights back. Throwing Sayaka to the turnbuckle, Megumi executes a hip attack, followed by a facecrusher.

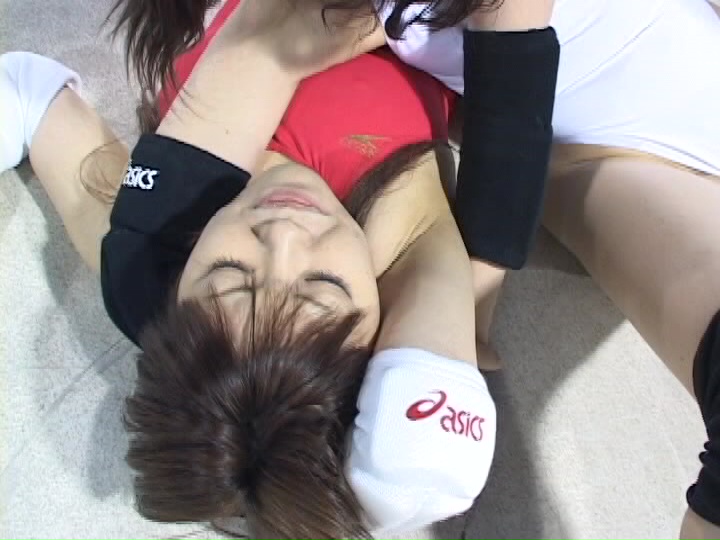
Megumi captures Sayaka in what looks to be an elbow lock.
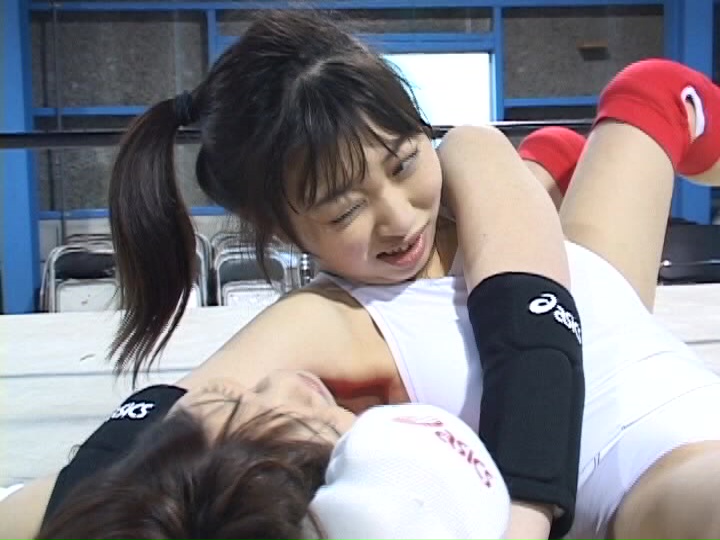
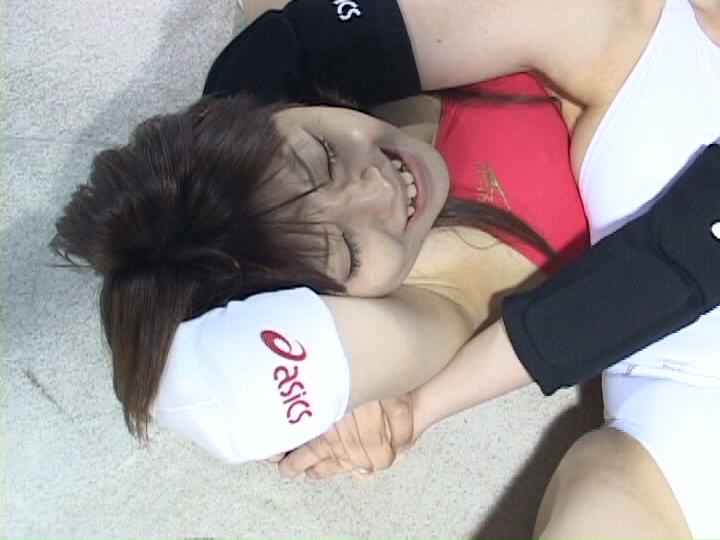
The hold is wrenching as Sayaka flails about in agony.
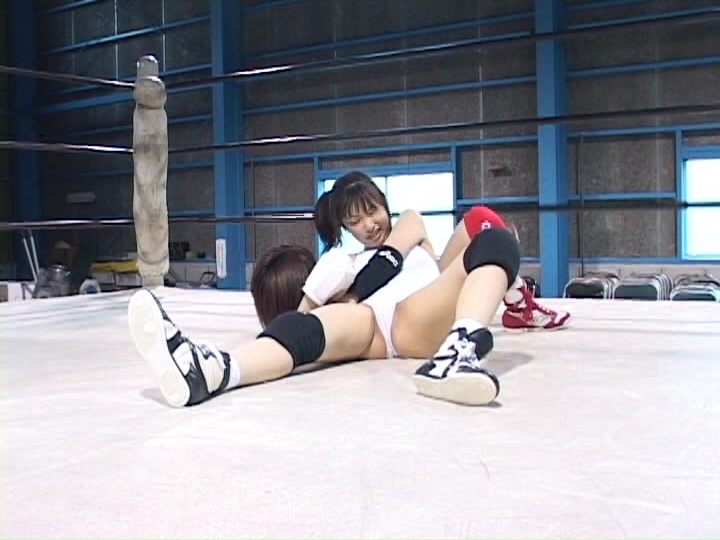

She eventually kicks the ropes, forcing a rope break.

Megumi lifts her opponent and goes for a powerbomb of her own. Will she connect? Sayaka resists with all her might as Megumi tries to pick her up.
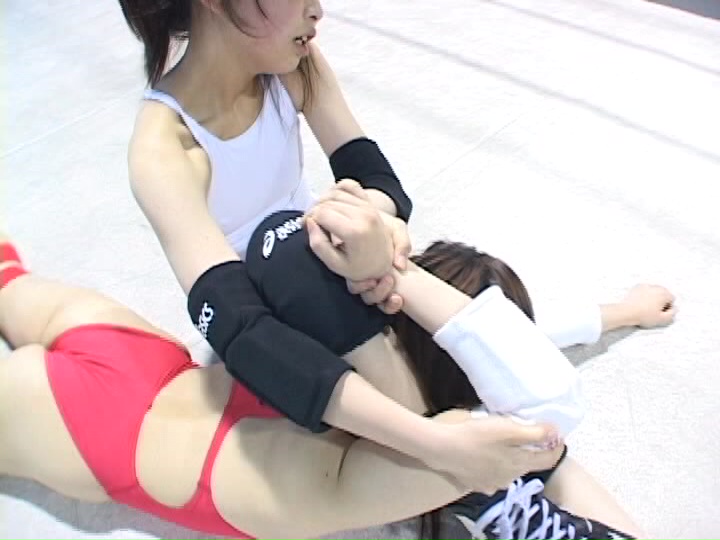
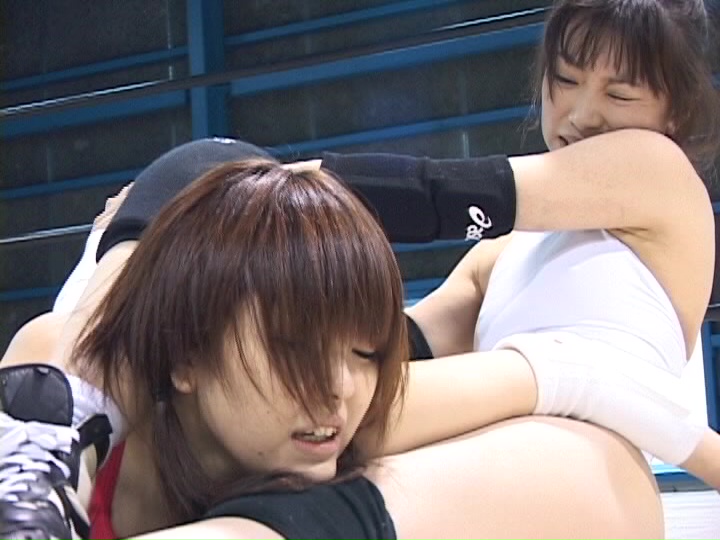
Eventually, Megumi gives up, throws Sayaka down on the mat, and sets up an inverted armlock. Sayaka cries out in anguish as Megumi continues to pull.
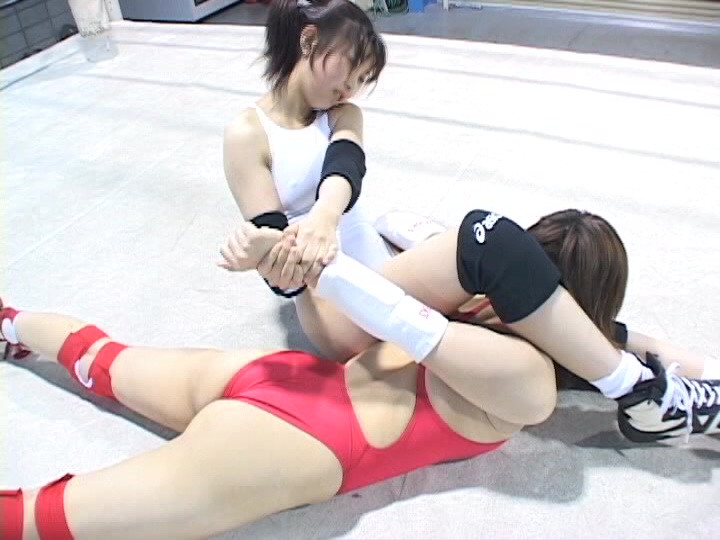
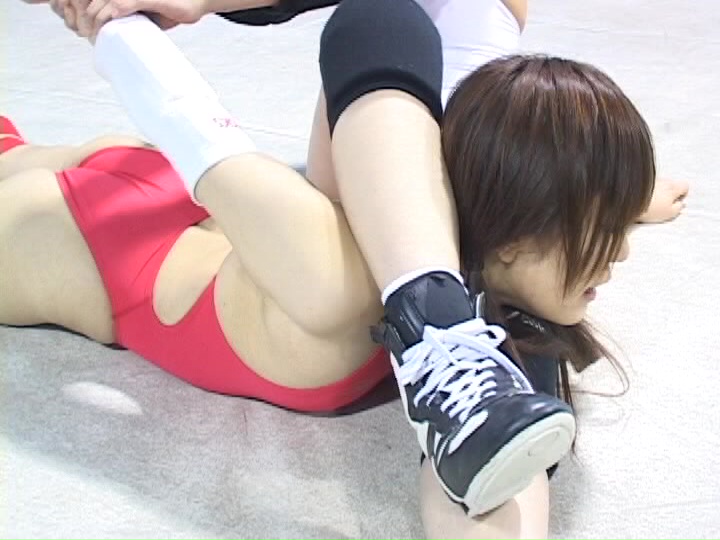
Sayaka cries out in anguish as Megumi continues to pull.


This match is intense!
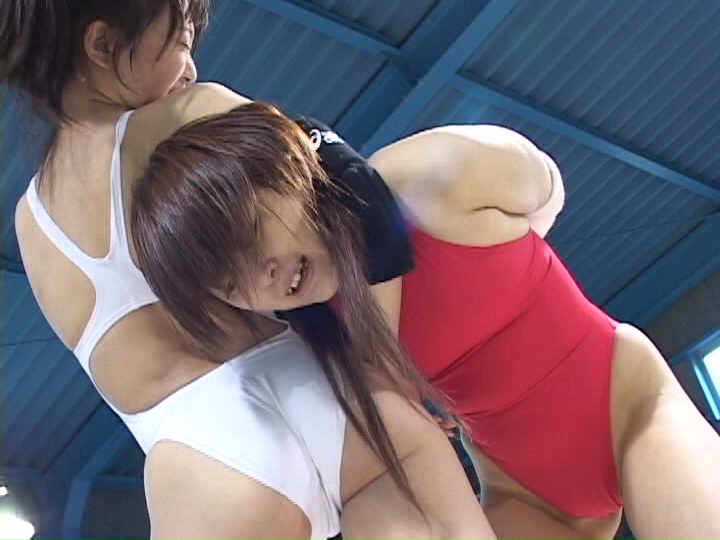

This agonizing hold leads into Megumi cursing out her opponent, lifting her back to her feet, and implementing a standing headlock. Sayaka is in hot water for sure.

Megumi squeezes with every fiber of her being as the referee requests the tap.
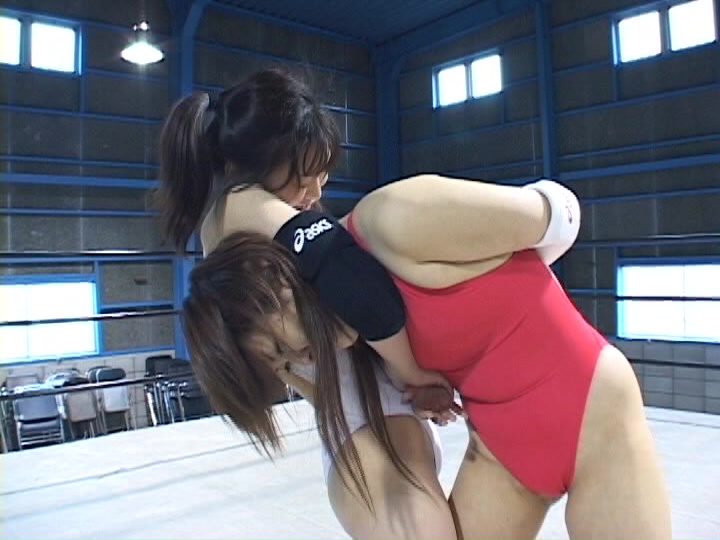
“Give up?” was the question to which Sayaka…
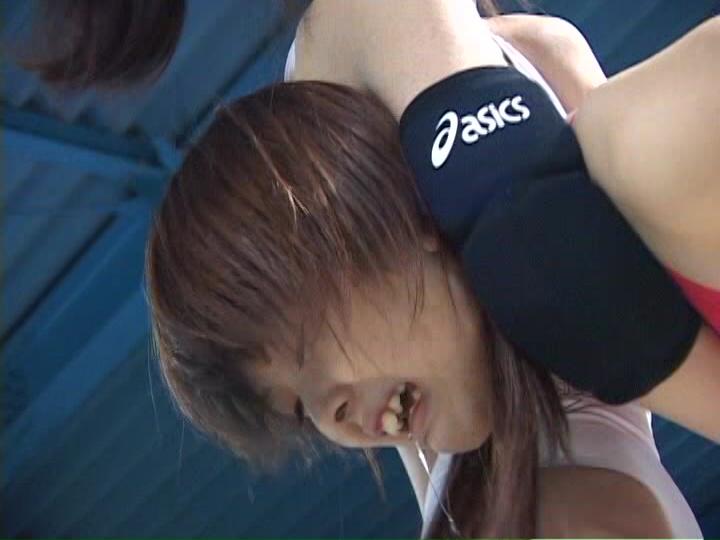
In a pool of her own drool...
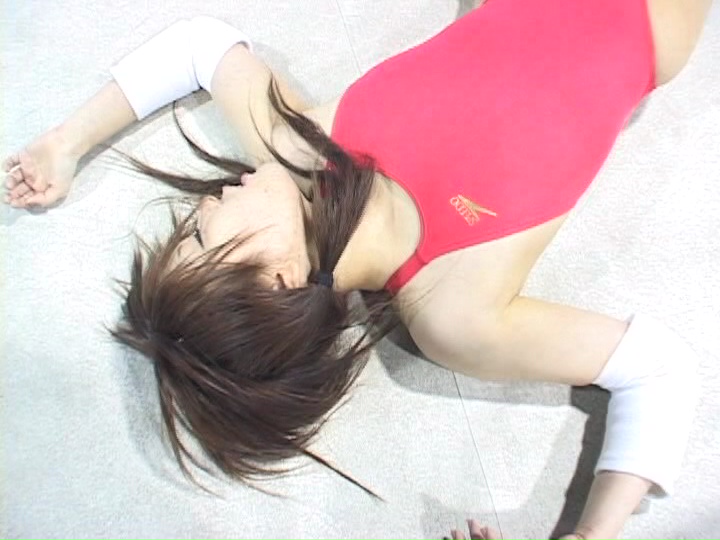
Submits to the technique, deeming Megumi the winner.


Sayaka collapses to the canvas as Megumi pokes her body with the tip of her boot. Megumi secures the win with a come-from-behind victory, after getting steamrolled early in the contest.
Overall, this match was excellent. Both fighters sold the moves appropriately and with enough vigor to incite an emotional reaction from onlookers. Fans of submissions would not be disappointed to add match to their collection. For BATTLE and AKIBACOM respectively, the quality continues to increase with each production. Longevity and consistency are key components in having a great product, something these films continue to possess. Give it a watch. You will not be disappointed.
For purchase, please go here: http://www.akibacom.jp/english/products/detail.php?product_id=9218
For the compilation purchase, please go here: http://www.akibacom.jp/english/products/detail.php?product_id=14504
